For kids, three months of summer vacation can be quite boring if you live in an isolated location in the country and cannot just walk down the street to hang out with friends. To keep our son busy (and preserve our sanity), a few summers ago my husband commissioned him to do a few short videos. One of the videos he made was about high-fructose corn syrup. Our son discovered that we are an almost HFCS-free household. When he searched our pantry and fridge for props, the only product containing HFCS he found was a bottle of mustard.
MSG is another blacklisted ingredient. It is not difficult to avoid HFCS and MSG when you cook mainly with fresh or frozen ingredients and make as much as possible from scratch. Yet I must admit that I deviate from my own rules once in a while for convenience or taste, or both.
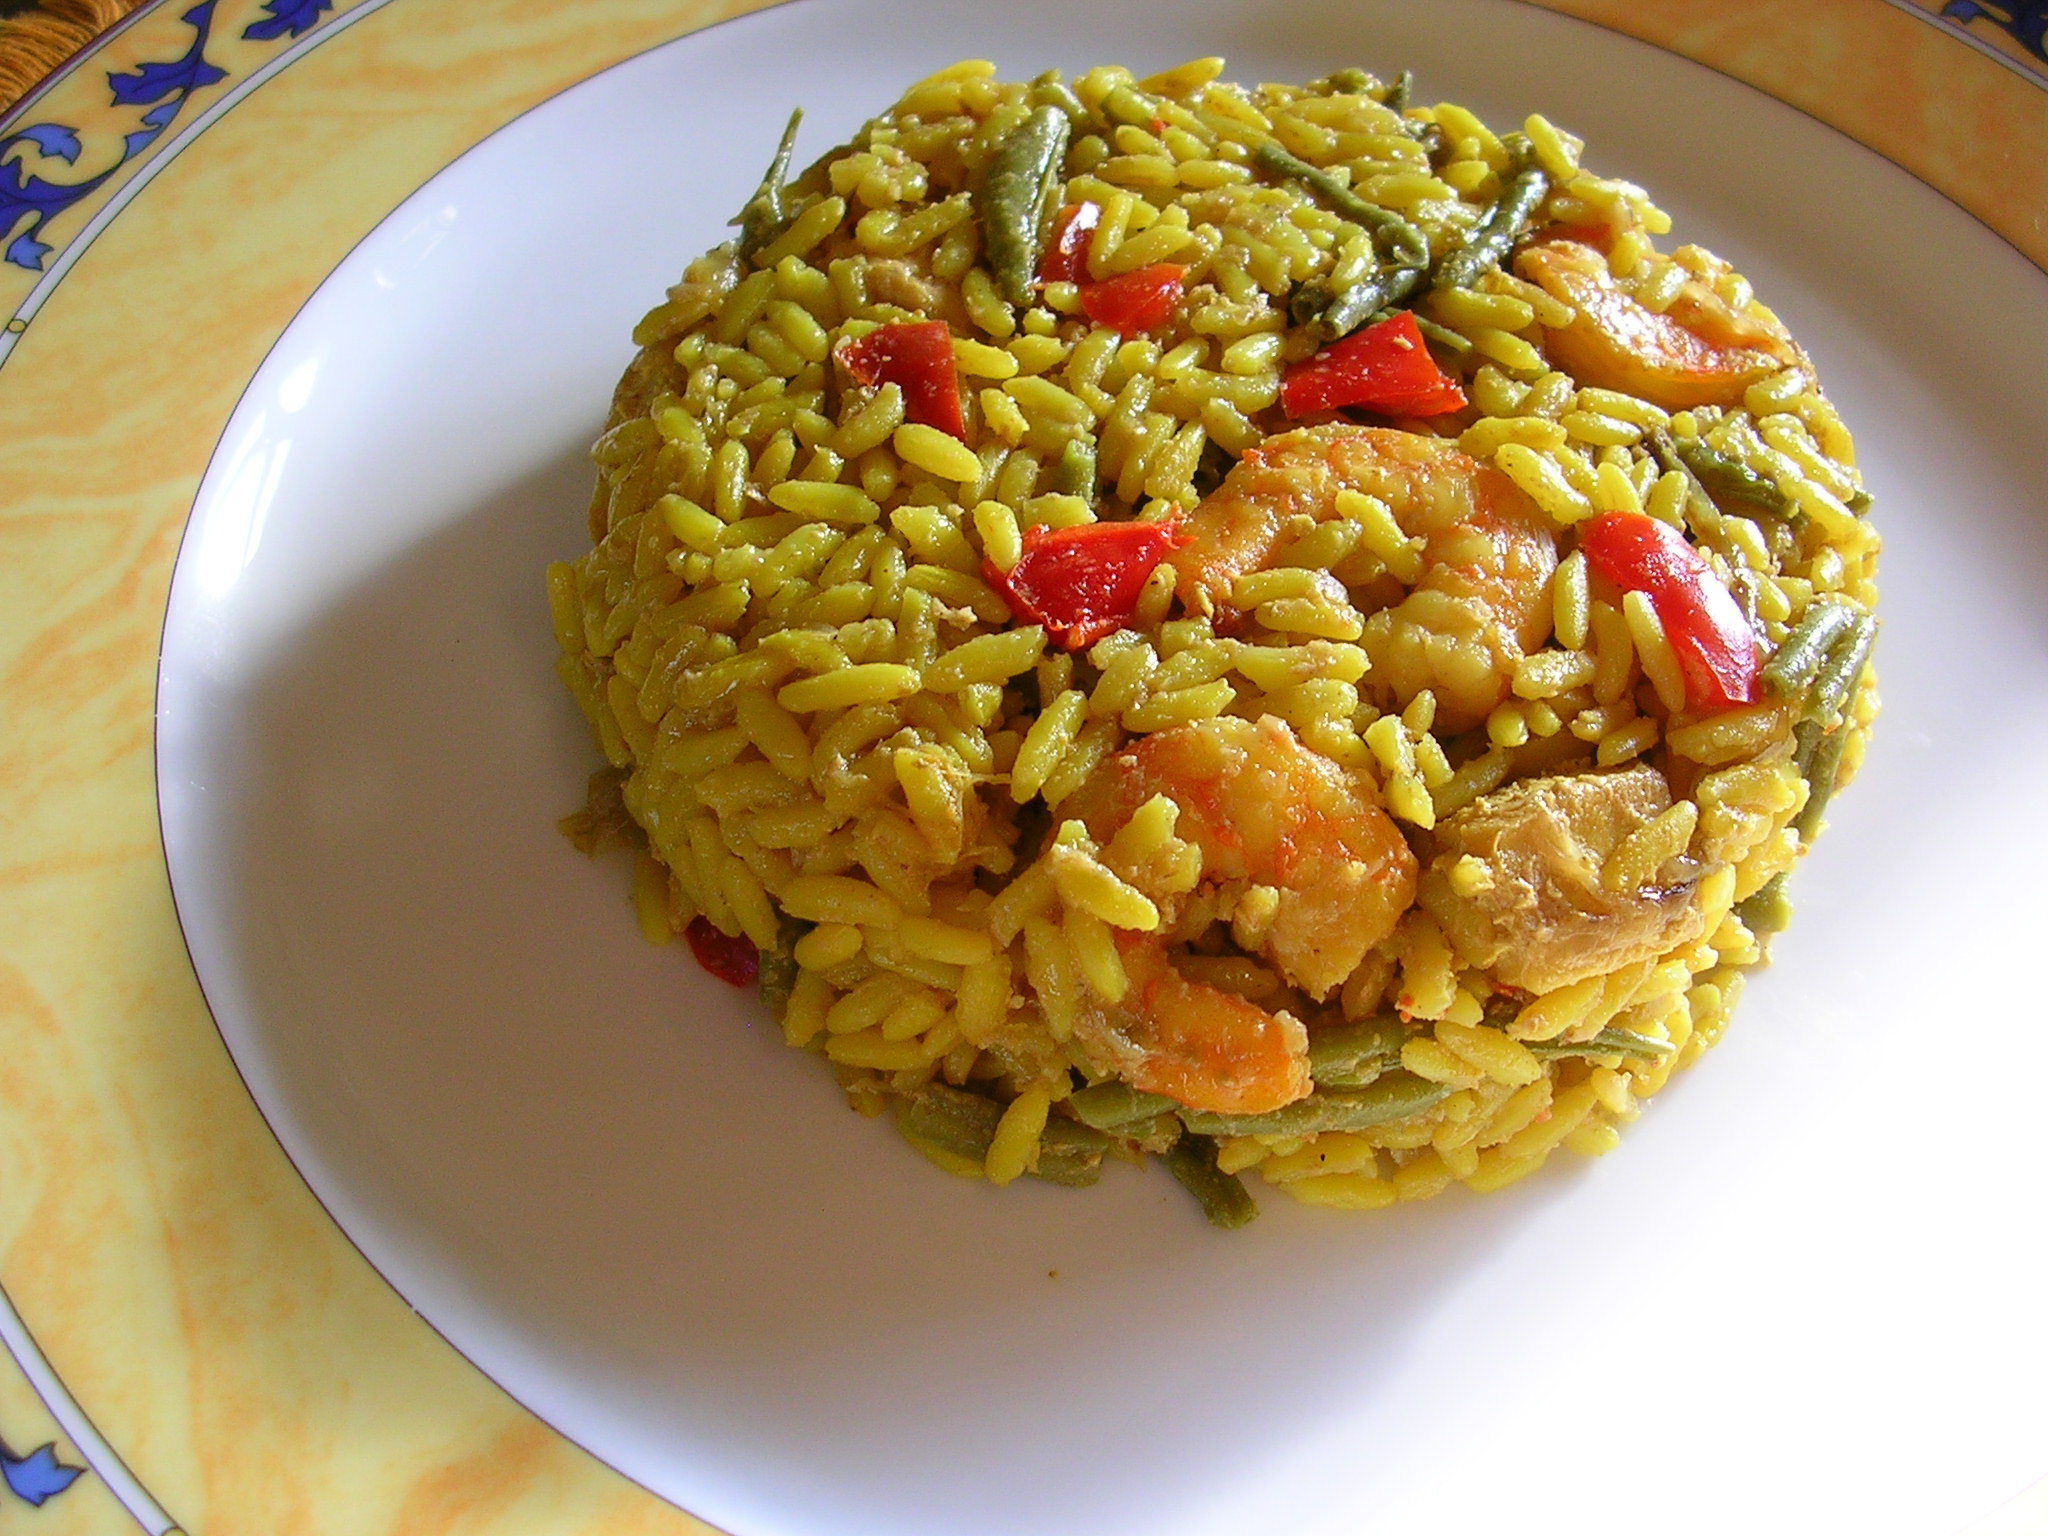
For paella, for example, I use yellow rice mix, aka Spanish rice, which sometimes contains MSG. When I cannot find brands that are MSG-free, I remove about half of the heavy seasoning from the uncooked mix by placing it in a colander and shaking it a few times over the sink. The remaining amount of MSG is minimal. MSG usually gives me terrible migraines but I have never felt a thing after eating this paella.
This recipe is adapted from Paella, Fast and Easy in Mark Bittman’s The Minimalist Cooks at Home. I doubt whether Mr. Bittman would agree with my using yellow rice mix from the package but since I adhere to most of what he advocates so passionately, I hope he would let this one slip. Most of the vegetables for the paella – peas, greens beans, and bell peppers – come from my garden, fresh during season, frozen in the winter. When I made the paella yesterday I did not have peas, as the supply of peas from the garden is already gone. We were also out of carrots; unaware of my dinner plans, my husband fed the last carrot to our dog, whose favorite treat is carrots.
To make up for the missing peas and carrots, I doubled the amount of bell peppers and green beans. And, instead of chicken broth, which I normally use for liquid, I used homemade turkey broth from our Thanksgiving turkey, also coming from the depth of our freezer. This recipe offers lots of flexibility in terms of ingredients.
One little trick: my son does not like peppers so I omit them in half of the paella and place a piece of triple-folded aluminum foil across the pan. After the paella is cooked, that barrier can be removed very easily.
Paella
4 cups chicken broth
1 cup fresh or frozen green beans
1 red bell pepper
1 carrot
1 onion
1 swordfish steak (about 6 ounces)
3 tablespoons olive oil
2 cups yellow rice mix (Spanish rice), some of the seasoning removed as described above
1 cup fresh or frozen peas
½ pound uncooked shelled and deveined medium-size shrimp (41-50 count)
1. Preheat the oven to 450 degrees F.
2. Heat the chicken broth in a saucepan.
3. Cut or break the green beans into bite-size pieces. Cut the pepper in half, remove the seeds, and cut into ½-inch pieces. Peel the carrot and cut into ¼-inch cubes. Halve the onion and slice very thinly. Cut the swordfish into ½-inch cubes.
4. Heat the oil in a large cast-iron skillet. Add the onion and cook for 5 minutes over medium heat until translucent, stirring often.
5. Add the rice mix and stir to coat. Cook for 2 minutes until it turns glossy. Add the hot broth and stir (stand back, it will steam when you add the broth).
6. Add the shrimp, fish, and vegetables, distributing them somewhat evenly. Bring to the boil, then carefully transfer the pan to the preheated oven. Cook for 25 to 30 minutes, until the rice is cooked through and the broth is absorbed. If during the cooking some of the vegetables start to poke out, gently push them back into the liquid so they won’t dry out. Do not stir.
7. Remove the paella from the oven and let stand for 5 minutes before serving.
Makes 6 to 8 servings


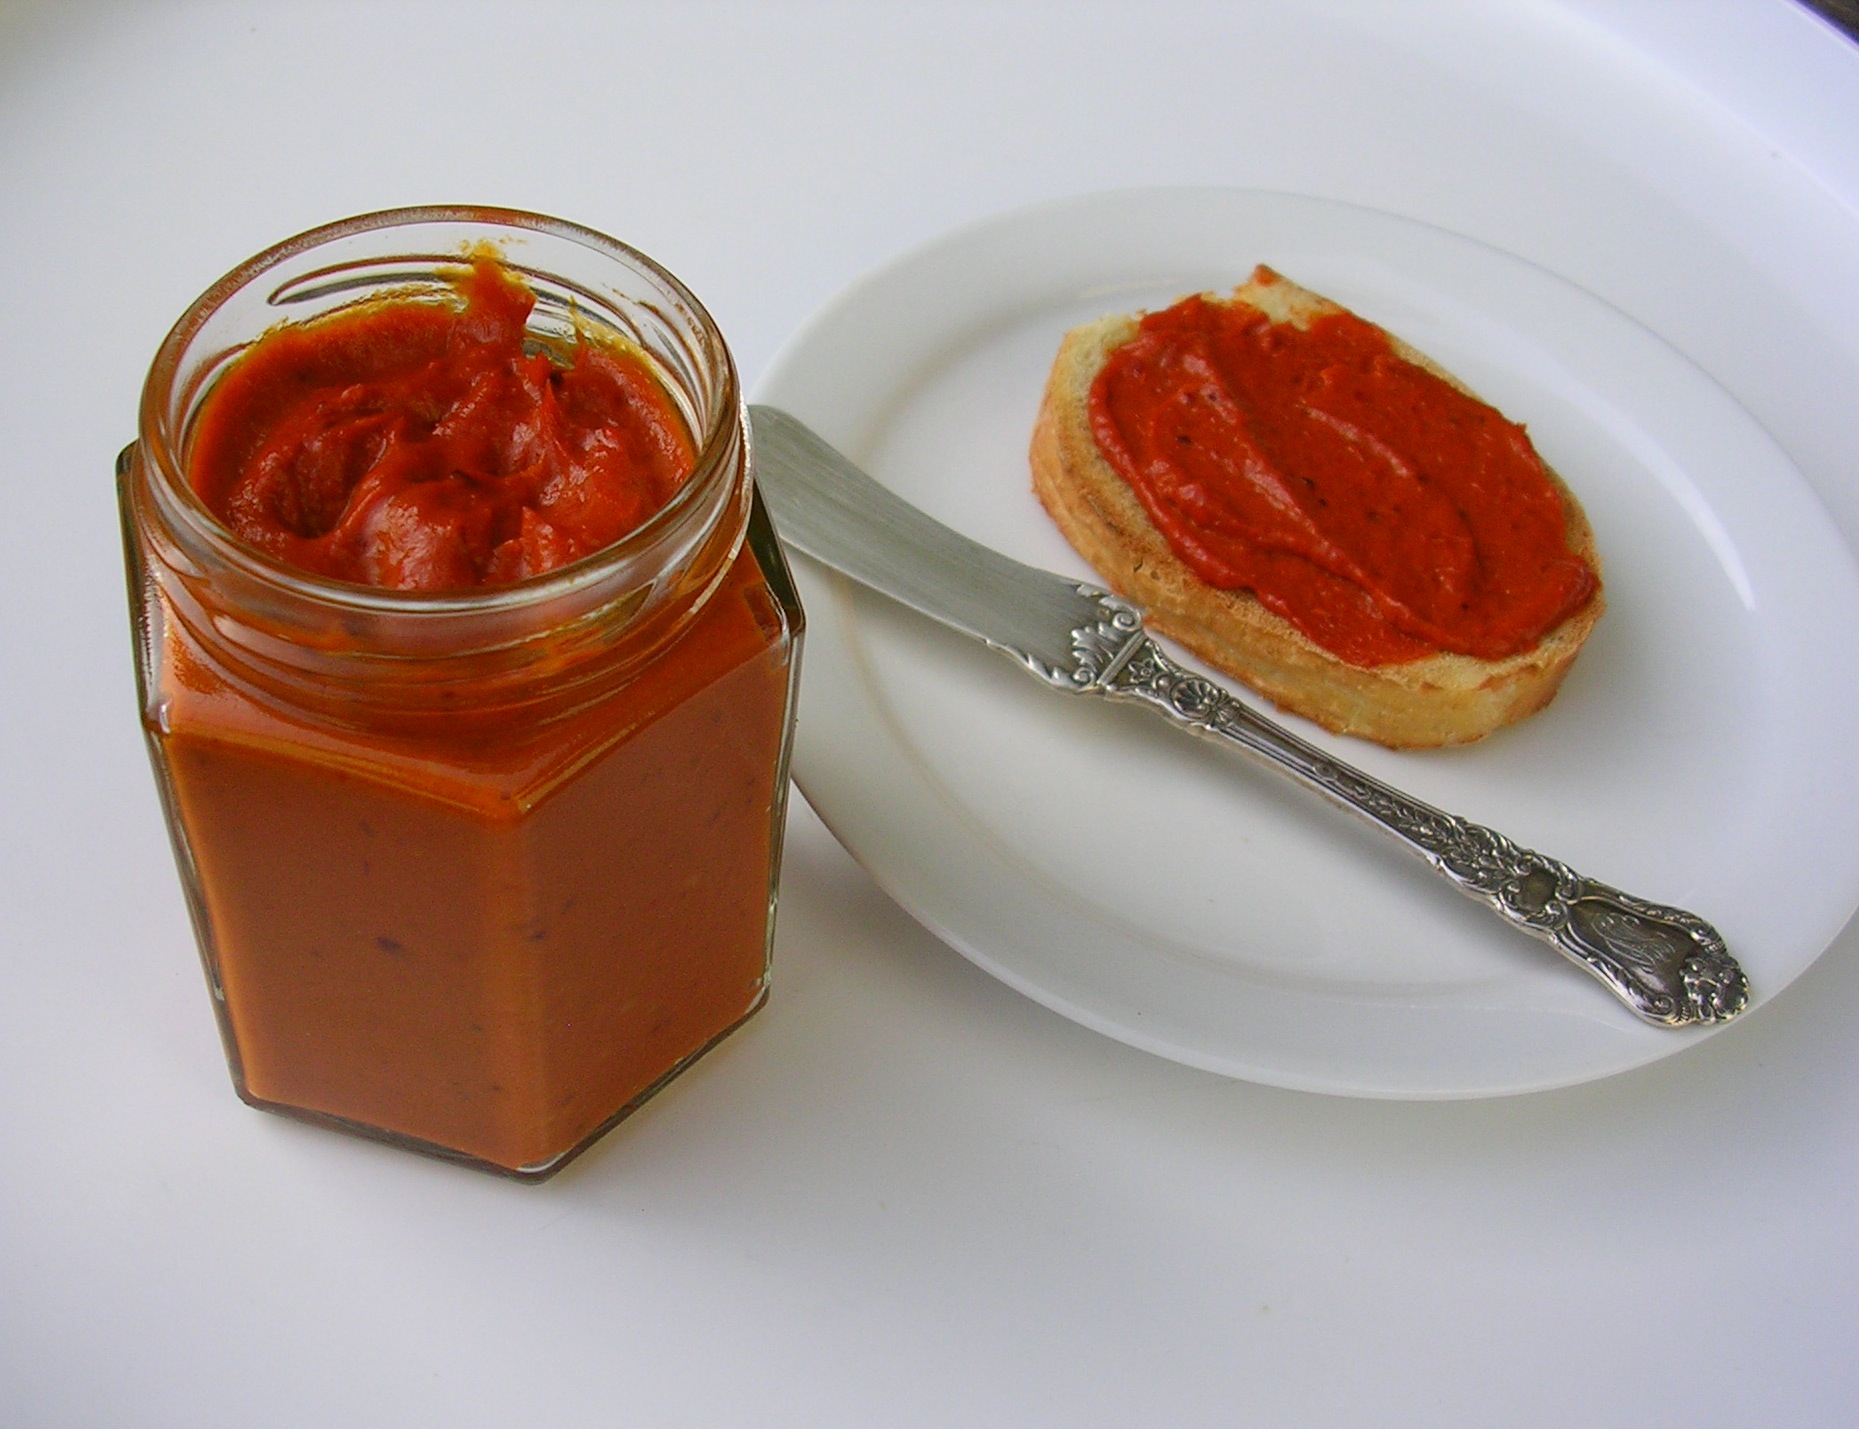
 Red Pepper Spread